How to paint furniture professionally for beginners| Step by Step Guide
Hey, if you are a beginner and want to paint furniture professionally, you have reached the right place. Here you will see how to paint furniture easily without going into too deep details (that will prevent you taking from taking first step) or spending much on supplies. Let’s Start
1. Gathering Supplies
Gather all your supplies before starting your painting. Here’s what you’ll need:
I.Primer
II.Paint
III. Clear coat
IV.Sandpaper
V. Brushes or Foam roller.
VI. Painter Tape
VII. Drop clothes
VIII. Cleaning supplies
2. Prepare the furniture piece
Now it’s time to prepare your furniture for painting. Before you begin, it’s important to prepare your furniture piece properly. This will ensure that your paint adheres well and provides a smooth, attractive finish.
Here’s an easy way to prepare your furniture for a new makeover
I. Clean the Surface:
Start by wiping down your furniture to get rid of any dust, dirt or grease.
Use gentle soap and water solution to clean the surface well.
Wash with clean water and wait for it before moving on.
II. Sand the Surface:
After the furniture is clean and dry. Gently roughen up the surface with sandpaper.
This will help the primer and paint stick better to the furniture.
Gently sand the wood in the direction of the grain so you don’t ruin the surface.
III. Repair Any Damage:
If there is any damage or imperfections in the furniture piece, fix it now.
Use wood filler to fill in any cracks, holes, or dents. Then, sand the area smoothly when it’s dry.
If there are any loose parts, tighten the screws or use wood glue to make them secure.
IV. Remove Hardware:
Keep the hardware in a safe place so you can reattach it once the painting is complete.
If your furniture has any hardware like knobs or handles, take them off before painting.
Doing this will make it easier to paint all the surface evenly and keep the hardware safe from getting paint on it.
Put the hardware in a safe place so you can put it back on after the painting is finished.
V. Protect Surrounding Areas:
Before you begin painting, make sure to cover up the areas around you, to avoid any paint drops or spills.
Lay down a drop cloth or old sheet on the floor to protect it and use painter’s tape to cover any areas you don’t want to paint.
This will make it easier to clean up your workspace once you finish painting.
By taking the time to properly prepare your furniture piece before painting, you’ll ensure a smooth and successful painting process.
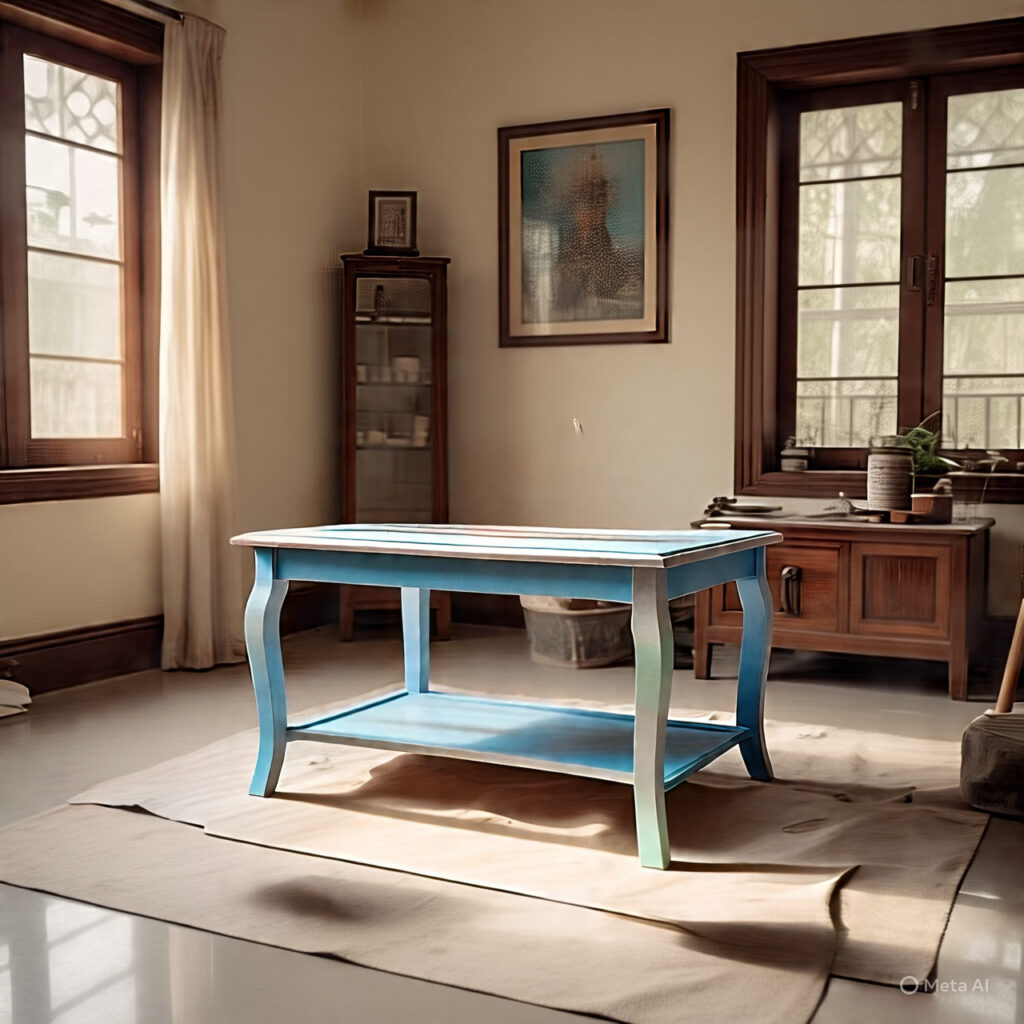
3. Choosing the right paint
Take some time to choose the right paint colour and type to achieve a beautiful look and durable finish for your furniture. Use good quality paint if you don’t want to regret it later. Consider the following points, when selecting the paint for your furniture.
I. Consider the Type of Paint:
There are different types of paint you can use for furniture like acrylic, latex, chalk and spray paint.
Latex and acrylic paints are versatile and easy to use while Chalk paint gives a matte finish with a vintage look.
Spray paint gives a smooth and even coat of paint. It’s great for small details or places that are hard to reach.
II. Think About the Finish
Paint comes in various finishes, including matte, satin, semi-gloss, and gloss.
Matte finishes have a flat appearance and are ideal for a more subtle look.
Satin finishes offer a subtle sheen and are easy to clean, making them great for high-traffic areas.
Gloss finishes provide a shiny, reflective surface and are highly durable, but they can show imperfections easily.
III. Consider the Colour:
Choose a paint colour that coordinates with your current decor and reflects your style.
Classic colours like white, grey, and beige are always in style and suitable for many combinations while bold colours like navy, emerald, and mustard are the ones that catch the eye.
Feel free to mix and match colours and finishes to create a unique look that reflects your style.
IV. Test the Paint:
Before settling on a paint colour, it’s advisable to test it out on a small area of your furniture.
Get small paint samples and test them in a hidden spot to see how the colour looks in your space.
Consider how the colour looks in different lighting conditions throughout the day.
V. Choose Quality:
Invest in quality paint for better coverage, lasting use, and overall results.
Cheaper paints may require more coats to achieve full coverage and have a shorter lifespan
Look for paints specifically designed for furniture painting, as they stick better to surfaces and last longer.
4. Applying primer
f you desire a professional-looking painted piece. Primer is important for your furniture. Primer acts as a base coat that provides smooth surface for the paint adherence
Here’s how to apply primer in simple steps:
- Mix the primer thoroughly.
- Using a brush or roller, apply an even coat of primer to the whole surface of your furnishings.
- Work in small sections, painting from top to bottom.
- Let the primer dry completely according to the manufacturer’s instructions.
Once the primer is dry, lightly sand the surface to smooth out any imperfections.
If necessary, apply a second coat of primer for added coverage and durability.
5. Painting techniques
I. Brush painting
The most common and simple way of painting is brush painting. Dip your brush into the paint and apply it evenly in long, smooth strokes. Make sure to work in the direction of the wood grain for a seamless finish. Take your time and apply thin coats to prevent drips and streaks.
II. Roller painting
Roller painting is great for larger furniture pieces or smooth surfaces. Use a paint roller to apply the paint in even, overlapping strokes. Start from the top of the furniture and work your way down. Roll the paint in one direction for a consistent finish.
III. Spray Painting
Spray painting provides a smooth, professional look. Choose a well-ventilated place and cover the floor with a drop cloth to keep the area clean. Hold the spray can about 6-8 inches away from the furniture and apply the paint in a steady, back-and-forth motion. Overlap each stroke slightly to provide even coverage.
IV. Stippling
Stippling creates texture and depth on your furniture. Dip a brush or sponge into the paint and lightly tap it onto the surface in a dotting motion.
Vary the pressure and spacing of your stippling to achieve different effects. Experiment with different colours and techniques to create a unique look.
V. Distressing
Distressing adds a rustic, vintage look to your furniture. Simply use sandpaper to gently rub away paint from edges and corners, to achieve a worn-out appearance.
Be deliberate in your distress process to achieve a balanced and intentional look. Finally, seal the distressed areas with a clear coat to protect the finish.
6. Drying and Curing
Once you have finished painting, let the furniture piece dry and cure properly, to achieve a durable and long-lasting finish.
1. Drying:
Let your furniture dry completely after applying the final coat of paint.
Drying time varies based on paint type, humidity, and temperature.
Speed up drying by placing furniture in a well-ventilated area.
2. Curing:
Curing is when the paint fully hardens for maximum durability.
It can take days to weeks, depending on the paint.
During curing, avoid heavy objects or using the furniture.
3. Patience:
Don’t rush; let it dry and cure fully.
Avoid handling until dry to prevent smudges.
Appreciate your work that how it upgrade your space.
Finishing touches
Once your furniture is fully dry, it’s time to add the finishing touches.
I. Applying Clear Coat
When the paint is completely dried, apply a clear coat to protect the finish and add a glossy or satin sheen.
Use a brush or roller to apply the clear coat evenly, following the same techniques used for painting.
Allow the clear coat to dry completely before using or moving your furniture.
II. Personalize Your Piece
Get creative and add personal touches to make your furniture uniquely yours.
Consider adding decorative hardware, such as new knobs or handles, to give your piece a fresh look.
Experiment with stencils or decals to add patterns or designs to the surface of your furniture.
III. Sealing
Once you’re happy with the final look of your furniture, consider sealing it with a protective finish.
This will help preserve the paint and protect it from scratches, stains, and fading over time.
Choose a clear sealant that’s compatible with the type of paint you used and follow the manufacturer’s instructions for application.
Troubleshooting and Common Mistakes
Even the most experienced painters encounter problems sometimes. Here are some common paint problems along with simple solutions:
1. Streaks or Uneven Coverage
Problem: Your paint application looks streaky or uneven.
Solution: Apply thinner coats of paint using long, smooth strokes. Let each coat dry completely before adding another layer.
2. Paint Drips or Runs
Problem: Paint drips or runs down your furniture.
Solution: Use less paint and apply it in thin, even layers. If drips occur, wipe them away gently with a clean cloth before they dry.
3. Bubbles in the Paint
Problem: Bubbles form in the paint after application.
Solution: Apply thinner coats of paint and avoid overworking it. Ensure the surface is clean and free of debris before painting.
4. Paint Peeling or Flaking
Problem: The paint peels or flakes off your furniture.
Solution: Sand down the affected areas, reapply primer, and repaint the surface. Ensure the surface is clean and primed properly before painting.
5. Colour Doesn’t Match Expectations
Problem: The paint colour doesn’t match your expectations.
Solution: Test the colour on a small area before painting the entire piece. Consider choosing a different shade if it doesn’t meet your expectations.
6. Paint Doesn’t Adhere
Problem: The paint doesn’t stick to the furniture surface.
Solution: Clean the surface thoroughly before painting and use paint suitable for the furniture material. Ensure the primer is applied correctly for better adhesion.
In conclusion
Now, when you have learned complete process about painting furniture, so roll up your sleeves and get ready to give your furniture a fresh new look!
What’s the first furniture piece you’re excited to transform with your painting skills?
Share your thoughts in the comments below!